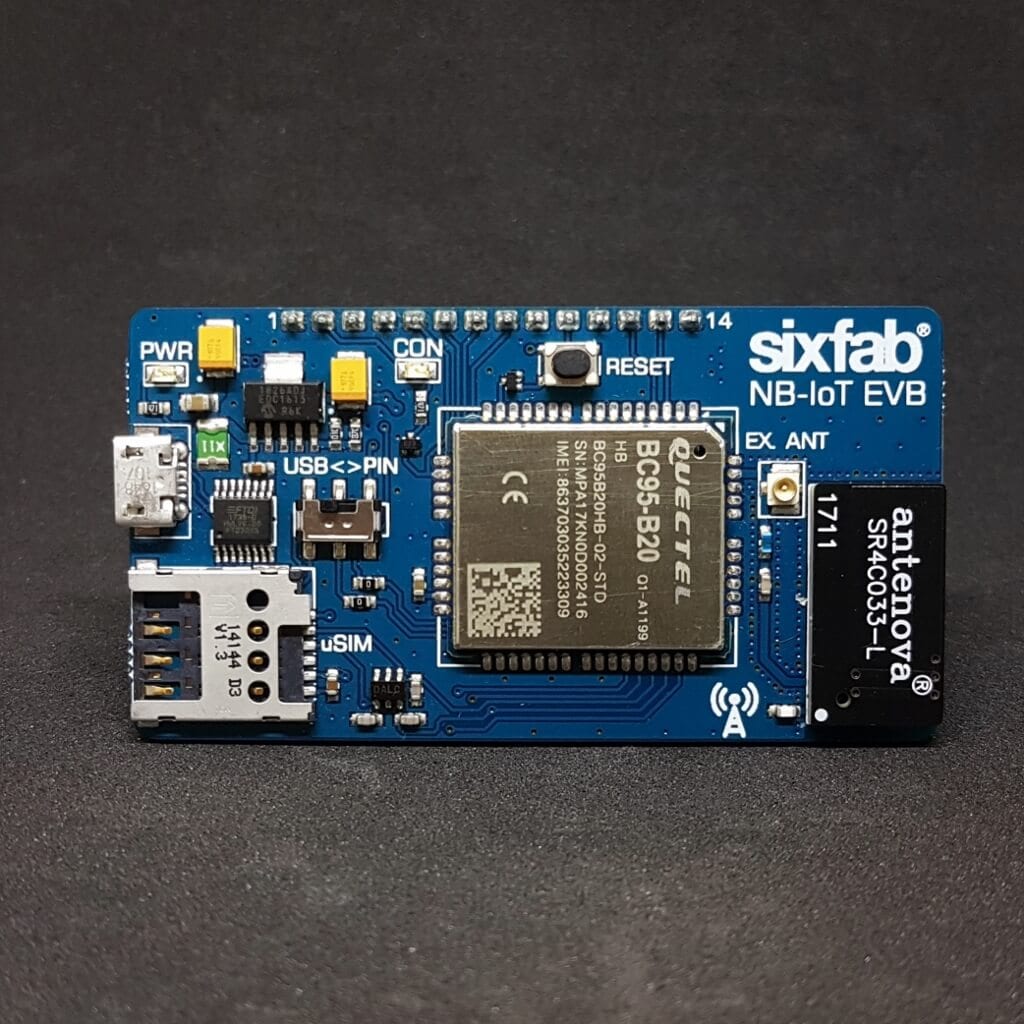
Now this Evolution Board is another member of our Sixfab NB-IoT family. First of all this is not a shield, so it can be used with desired controller. For this tutorial we will be using Raspberry Pi.
Here we are trying to show how you can send data over UDP, So we need Sixfab NB-IoT EVB. Board, a Raspberry Pi and any sensor(we are using JSN-SR04T-2.0). Lets start with making our circuit connection. Pinout of the NB-IoT EVO. Board are mentioned below the board itself. Here we will need TX and RX only.
EVB ↔ Raspberry Pi
5V ↔ 5V
GND ↔ GND
RX ↔ RX(GPIO15)
TX ↔ TX (GPIO14)
JSN-SR04 ↔ Raspberry Pi
5V ↔ 5V
GND ↔ GND
TRIG ↔ GPIO19
ECHO ↔ GPIO26
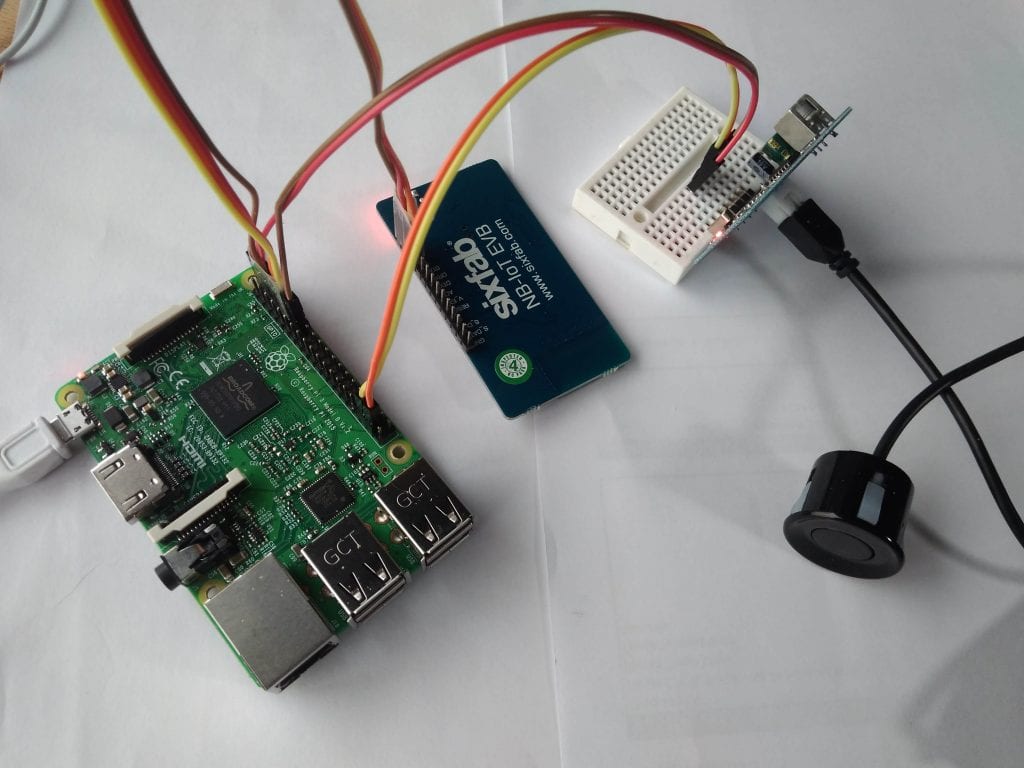
Our setup looks like the following image.

We will test the shield on local host. It is necessary to make some configs to your modem.
Make sure you have your modem configuration done. If you haven’t done it before follow the following steps to do it.
Get into your ‘Modem Router Settings’ and find ‘Forwarding/Virtual Server’ then click on ‘Add New’. Here fill-up ‘Service Port’ (which will be any unique port number), ‘IP Address’ (IP address of your laptop or Desktop) and select Protocol as ‘UDP’. Now save this configuration. Note down your IP address of router and UDP service Port (We will need them while writing our script).
Now download the example python script from our Github Repo.
Run the script by
python <YOUR_SCRIPT>.py
Open another terminal and type following command to observe the data that has been sent over UDP,
netcat -ul -p5000
here write your own PORT address instead of 5000.


