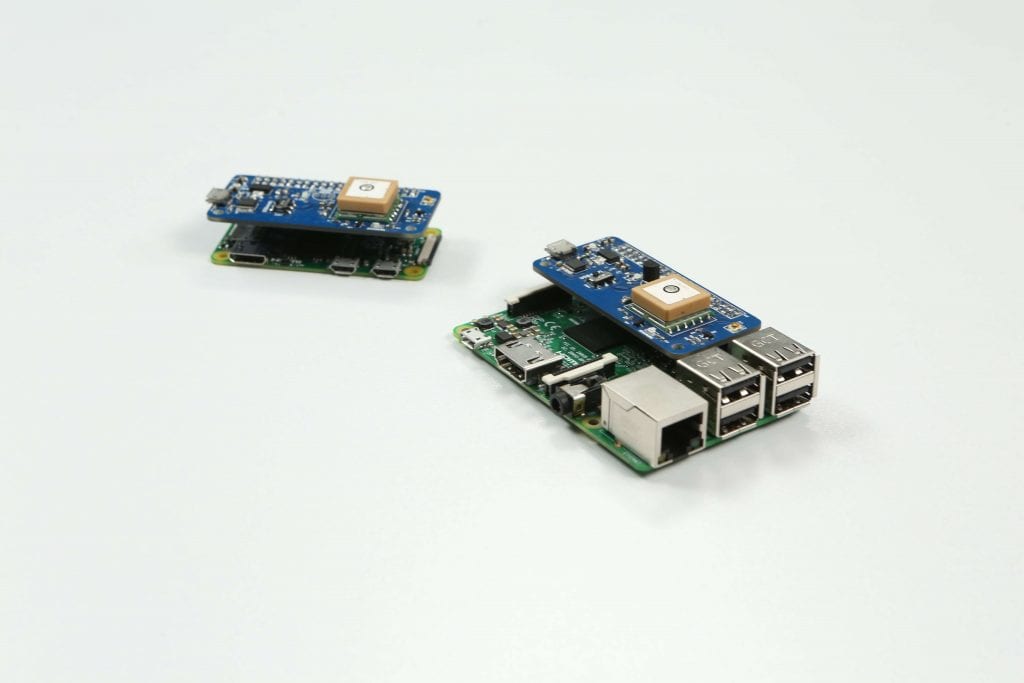
Do you want to make your own Car tracker? If say yes, This tutorial is for you.
- Firstly, Connect your Raspberry Pi to the internet and run sudo apt-get update to update your Raspberry Pi
- We should stop Getty service on Raspbian.
-
- For non Raspberry Pi 3 machines, remember it’s /dev/ttyAMA0 that is linked to the getty (console) service. So you need to perform this command from a terminal window:
- sudo systemctl disable [email protected]<
- sudo systemctl disable [email protected]
- For Raspberry Pi 3’s the command is similar but referencing /dev/ttyS0:
- sudo systemctl stop [email protected]
- sudo systemctl disable [email protected]
- For non Raspberry Pi 3 machines, remember it’s /dev/ttyAMA0 that is linked to the getty (console) service. So you need to perform this command from a terminal window:
- You also need to remove the console from the cmdline.txt. If you edit this with:
- sudo nano /boot/cmdline.txt
dwc_otg.lpm_enable=0 console=serial0,115200 console=tty1 root=/dev/mmcblk0p2 rootfstype=ext4 elevator=deadline fsck.repair=yes rootwait quiet splash plymouth.ignore-serial-consoles
remove the line: console=serial0,115200 and save and reboot for changes to take effect.
- sudo nano /boot/cmdline.txt
- You also need to enable uart with edit /boot/config.txt file
- sudo nano /boot/config.txt and add enable_uart=1 to bottom of file then save and reboot for changes to take effect.
-
- Download source code
- wget https://raw.githubusercontent.com/sixfab/Sixfab_RPi_GPS_Shield/master/tutorials/GpsTracker.py
- Make it executable
- sudo chmod +x GpsTracker.py
- Run it
- sudo python GpsTracker.py


