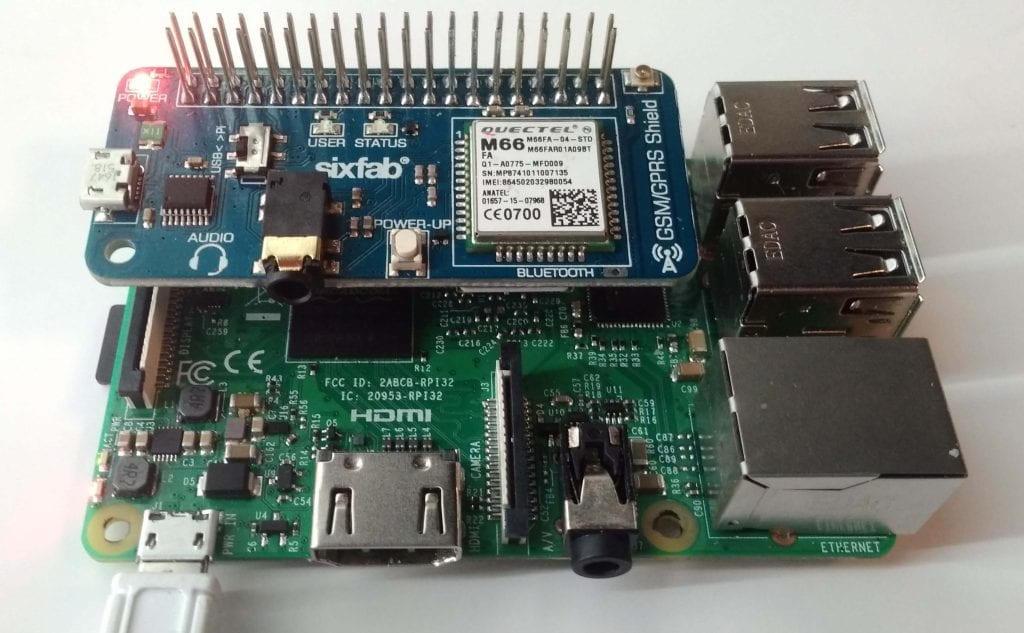


We are back again with another tutorial on Sixfab GSM/GPRS Shield. This has been designed with Quectel M66 GSM/GPRS module which is based on 2G chipset and bears optimal performance for SMS and audio service. It basically work with AT commands. To know more about the AT commands of Quecctel M66 you may visit Quectel site.
Previously we have demonstrated how to connect to Internet using the shield and Raspberry Pi. This time we are going to show you how we can send SMS using our Sixfab GSM/GPRS Shield. Here we are about to mention the AT commands to send sms. Later on we will come up with python script for getting the same job done.
Since we are able to connect the shield in two ways.
1. With Raspberry Pi
2. Via USB
With Raspberry Pi
Initially make sure you have stopped getty and enable UART. If not follow step 7-9 from previous tutorial of Sixfab GSM/GPRS Shield.
1. Insert sim to the Sixfab GSM/GPRS Shield and connect it to a Raspberry Pi.
 2. Turn UART switch towards Pi.

3. Press POWER-UP for 2 seconds as a result the STATUS led will start blinking, which indicates the module is ready to be used.
4. Now connect to you Raspberry Pi via ssh.
5. Open a terminal and type
minicom -s
Minicom is a text-based serial port communications program. It is used to talk to external RS-232 devices such as mobile phones, routers, and serial console ports.

6. It will bring up the following screen, where you will need to select “Serial port setup”

7. Here change Serial Device to /dev/serial0 then exit from the setting


8. The terminal will display the following screen.
Here Type
AT+CMGF=1
to instruct the GSM/GPRS module to operate in SMS text mode.
The final result OK indicates that the AT command was executed successfully.

9. Now to send message type
AT+CMGS=”PHONE NUMBER”
and press Enter, which moves moves the cursor to a new line where you can write your message.
10. Type the message. When you finished typing the message press CTRL+Z to send the message.

If you do not want to send message you can simply press ESC key.
11. Once you sent the message, the response OK indicates that the message was sent successfully, else it will end up with ERROR.

Via USB:
1. Insert SIM Card and turn UART switch towards USB

2. Connect a USB to you laptop/desktop
3. Press POWER-UP for 2 seconds as a result the STATUS led will start blinking, which indicates the module is ready to be used.
4. Open Serial Port Terminal. Then go to Configuration > Port, which will bring the following screen on the screen.
Select Port where the shield is connected. Select baud rate as 115200 and press OK

5. Now Type
AT+CMGF=1
to instruct the GSM/GPRS module to operate in SMS text mode.
The final result OK indicates that the AT command was executed successfully.

6. Now to send message type
AT+CMGS=”PHONE NUMBER”
and press Enter, which moves moves the cursor to a new line where you can write your message.

7. Type the message. When you finished typing the message press CTRL+Z to send the message.

If you do not want to send message you can simply press ESC key.
8. Once you sent the message, the response OK indicates that the message was sent successfully, else it will end up with ERROR.

Hence you successfully sent SMS from your Sixfab GSM/GPRS Shield.