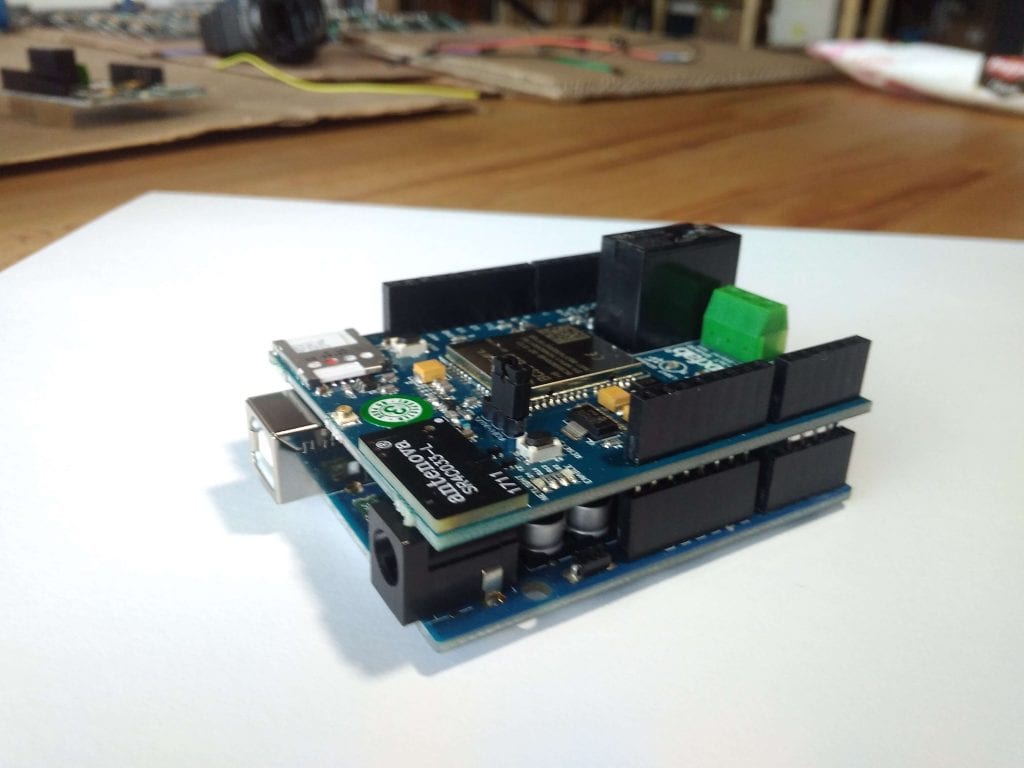
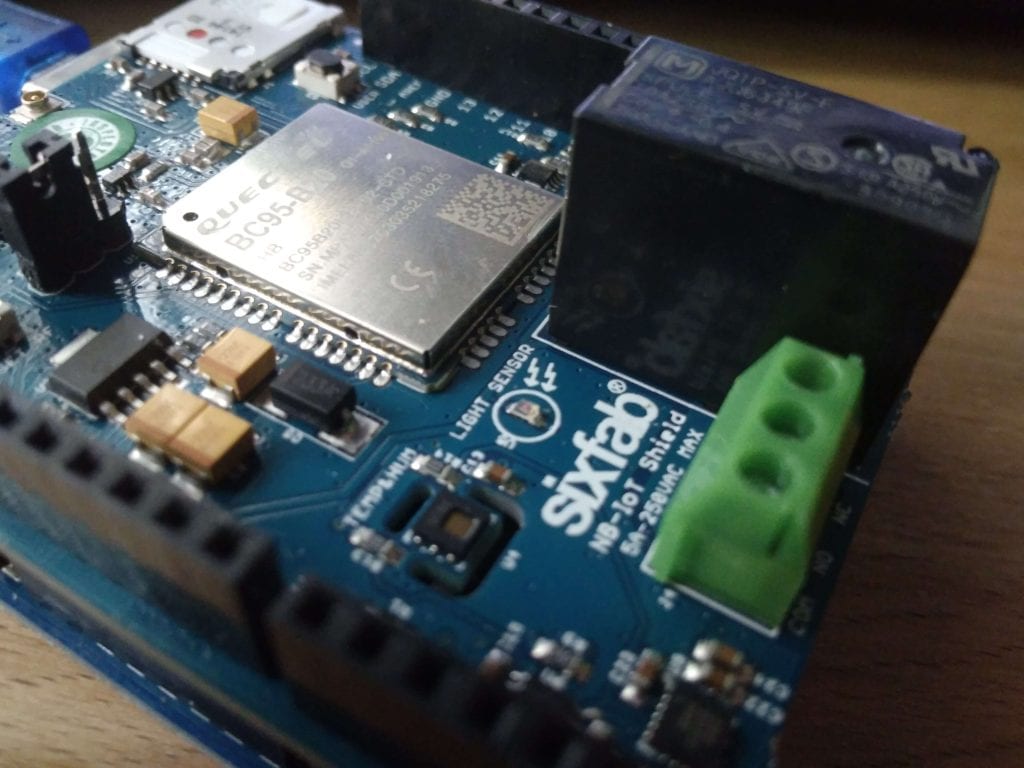
We are back again with another tutorial on Sixfab Arduino NB-IoT Shield. Previously we have learned how to connect the shield with local server and sent a string value. In this tutorial we are going to learn how we can access the sensor values of the built-in sensors of the shield and send them over local server. To keep it easy we are going to access single sensor which will be ambient light sensor(ALS-PT19).
Before we start this tutorial make sure you have gone through our previous tutorial, if not please click here and have a look. Make Sure you have your routers IP address and enabled UDP port.
1. Plug your shield to your Arduino. Plug your SIM and connect the Jumper connector for antenna.

2. Here we are going to use USB-TTL converter.
Let us again explain the reason again, the UART of the Arduino is already being used by BC95 module. So we will need another serial connection in order to observe our readings. Moreover to observe the data via our second serial we will need another serial monitor. We are going to use Serial Port Terminal in linux.(Windows user can use HERCULES SETUP).
The USB-TTL has 4 wires among them
VCC(5V, Red cable),
TX(Green cable),
RX(White cable) and
GND(Black Black).
There are also 4 M-M Jumper Cables so that you may connect to your shield.
The connection is to be made as following:
USB-TTL ↔ Sixfab Arduino NB-IoTShield
5V ↔ NOT USED
GND ↔ GND
TX ↔ D10
RX ↔ D11
#Note: Power has been supplied from Arduino so we don’t have to connect VCC of the USB-TTL.
4. Now download basicTutorialNBIoT.ino from our github repo and open it with your Arduino IDE.
Here you will need to make some changes in the sketch, configure IP and port according to your own information.
5. Connect your Arduino to your laptop/desktop.
6. Upload the sketch to your Arduino.
7. Now open Serial Port Terminal (HERCULES SETUP in Windows) and go to Configuration > Port setting.

8. Select your Port where your USB-TTL is connected (it’s ttyUSB0 in our case) and set Baud Rate to 9600.Then click OK.

Then you will be able to see the following screen

9. Now to listen data being sending over UDP port, open a terminal and run the following command
netcat -ul -p5000
where 5000 is our port number, so make sure you change it with your own port number. Windows user can HERCULES SETUP for listening UDP.
Then you can observe the data that has been sent over UDP.
 Hence you are able to listen the Lux sensor data that has been sent over local server. To make the process easy we demonstrated in local server, while one can also try this in remote server.


