


After the our first tutorial on Sixfab Arduino Cellular IoT Application Shield in which we mentioned monitoring sensors only. Since the shield have feature of LTE-M & NB-IoT & eGPRS, we will demonstrate each of them. In this tutorial we are going to show the UDP communication with the mentioned shield.
Router Setup
- Login to you routers configurations, by going to 192.168.1.1(generally this is the address for router configurations, might change for some router) from your Internet browser and login with your own credentials.

- Now scroll down at Basic Status page to find your IP address of your connection (which is mentioned as dsl_internet in our case). We will need it later.

- Now click on Forwarding form the option list and then click Virtual Server.
- Then click on Add New, which will take you to the following screen. Now fill up Service Port(as desired, in our case it is 5000), IP Address(It is IP Address of your Computer/Laptop. Check the note below if you don’t know how to obtain your IP Address) and select Protocol(as UDP). Click Save.>
** Note: Open your terminal and run ifconfig command to obtain your IP Address. This is applicable for linux users. Windows user can type ipconfig in cmd command.


Arduino Library Setup and Coding
- Download Zip or clone the Library from our github repo. (Personally for Arduino I like to download zip)
For cloning you may type the following command in your terminal.git clone https://github.com/sixfab/Sixfab_Arduino_CellularIoT_Library.git
- Now open your Arduino IDE

- To add the library, from top menu go to Sketch > Include Library > Add ZIP Library

- Find your location of downloaded library and select the zip file / folder in case of cloning. Then click OK

- Once you add the library, you will be able to find the available examples for your Cellular IoT Application Shield. Lets open our first example from File > Examples > Sixfab_CellularIoT > sensorTest
- This bring up the following code. Here find the following lines ans replace xx.xx.xx.xx and xxxx with your routers IP and your selected port respectively.
char your_ip[] = "xx.xx.xx.xx"
char your_port[] = "xxxx"

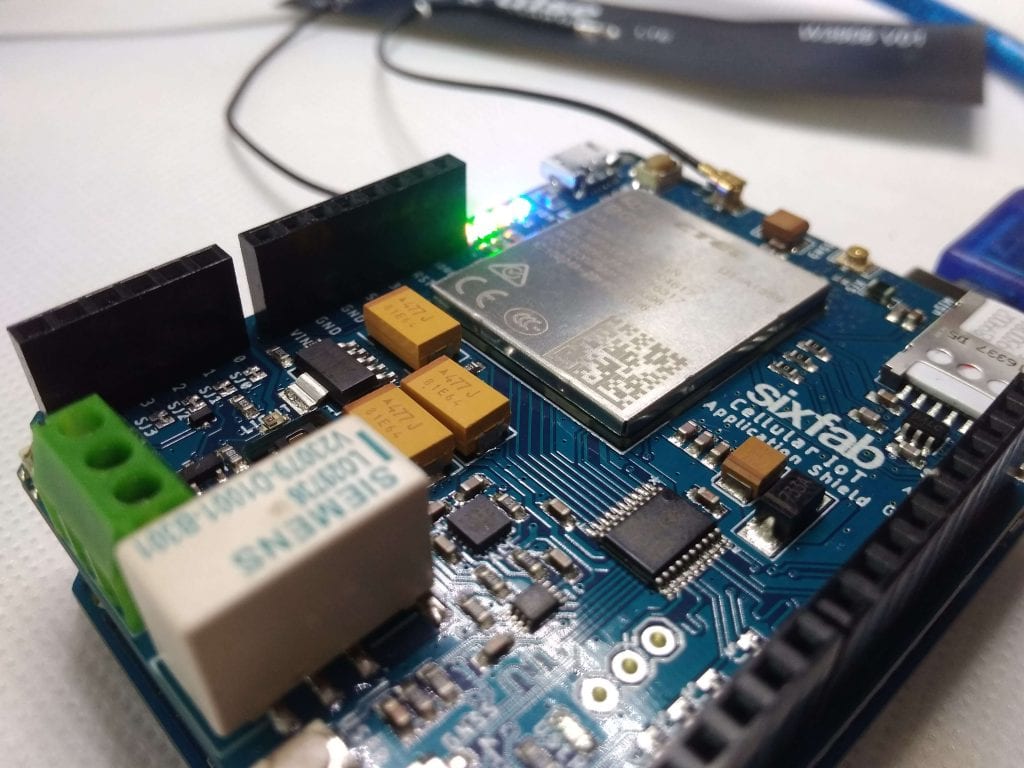
- Now plug the SIM card and antenna to the shield as follows. (only LTE port of antenna is enough to connect for this tutorial).

- Attach the Shield to the Arduino and connect the Arduino to your laptop/PC.

- Confirm wither the selected port is correct or not from Tools > Port.

- Open a terminal and type the following command to listen the UDP data.
netcat -ul -p5000

- Upload the code to your Arduino and open the Serial Monitor. Then you will observe the following which shows SEND OK at the end if it works fine.

- On the terminal we can see a string “Hello World!” which was sent over UDP.


If we observe the code then we will be able to see that sendSataUDP() is used to send data over UDP.
While
- init() is to initiate the unit,
- setIPAddress() sets the IP address of the router,
- setPort() sets the port selected in port forwarding,
- setGSMBand() sets desired band (Possible parameters are GSM_900, LTE_B5, LTE_B20),
- startUDPService() starts the service for UDP communication.
So the library has made it further easy to code the shield.
We will be coming up with TCP Communication in our next tutorial.