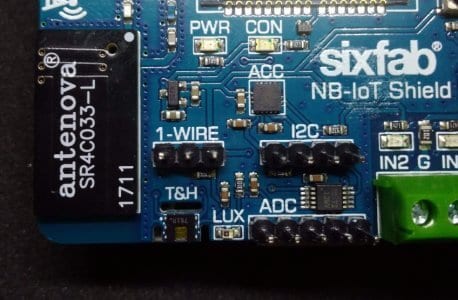


We are back again with second tutorial on our Sixfab Raspberry Pi NB-IoT Shield. In this tutorial we will be showing how to access a sensor of the shield among the available built-in sensors. We have selected temperature and humidity sensor for this demonstration.
If you are starting new please follow step 1-13 from our previous tutorial, else you can start by inserting the SIM card to the shield and plugging the shield to your Raspberry Pi.

1. Clone sixfabNBiotTutorials repository to your Raspberry Pi by
git clone https://github.com/sixfab/RPI-NB-IoT-Shield.git
2. Get into the cloned directory
cd RPI-NB-IoT-Shield/examples
Make sure you have SDL_Pi_HDC1000, Adafruit_ADS1x15 library to run this script.
Find the following line in the script basicTutorialNBIoT.py
ip = “XX.XX.XX.XX”
port = “XXXX”
and replace XX.XX.XX.XX with your router’s ip and XXXX with your port number and save it.
3. Run the script by following commands
python basicTutorialNBIoT.py

4. To listen the data that are being sent over the local server open another terminal and run the following command
netcat -ul -p5500
where 5500 is our port number, so make sure you change it with your own port number.

So, you are successful accessing a sensor from Sixfab Raspberry Pi NB-IoT Shield.
Here the demonstration is done with local server, You can also carry out your projects with remote server.